Help & Guide
A step-by-step guide to enrolling your child, paying, and updating your details. You don't need a password — everything is done from the buttons on the home page and a secure link we email you.
1. Before you start
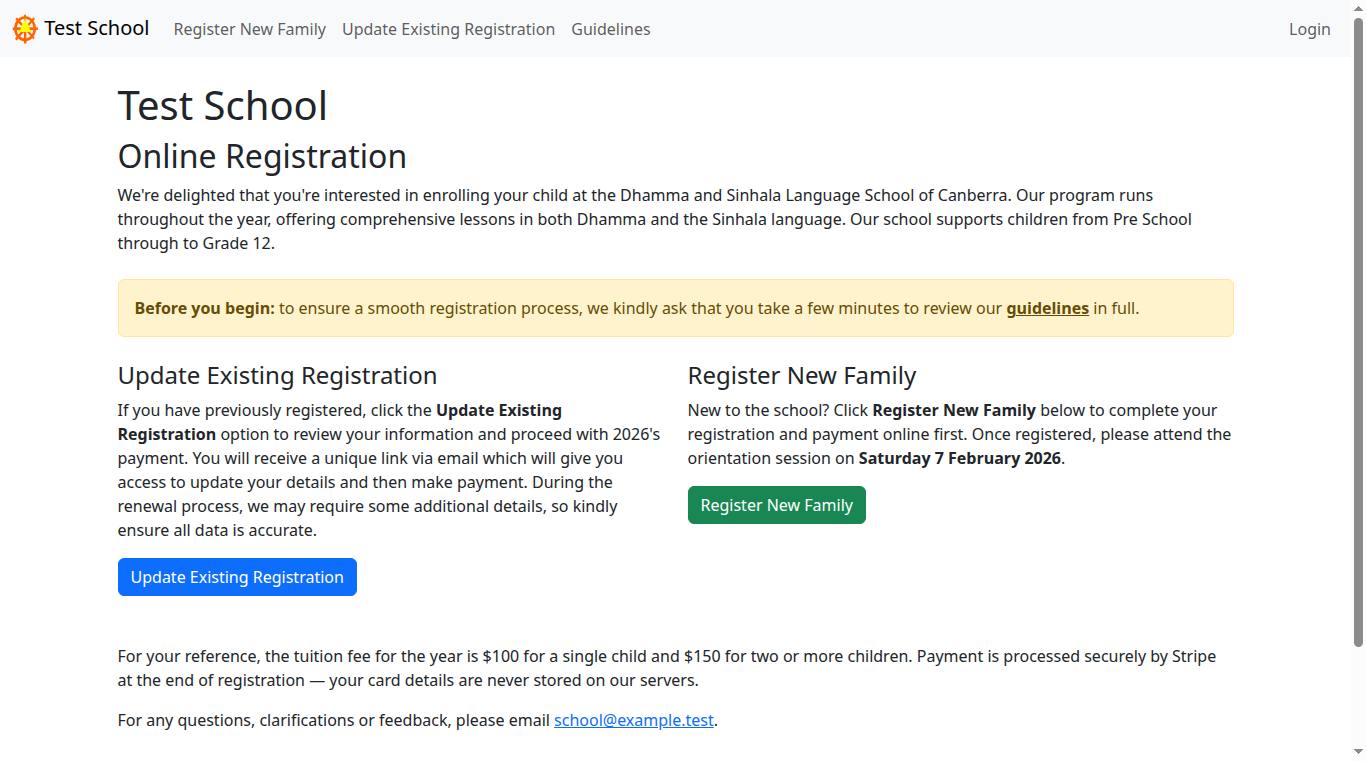
Open the school's registration website and you'll land on the home page. There are two choices:
- Register New Family — you're enrolling for the first time.
- Update Existing Registration — you've registered before and want to renew or change your details.
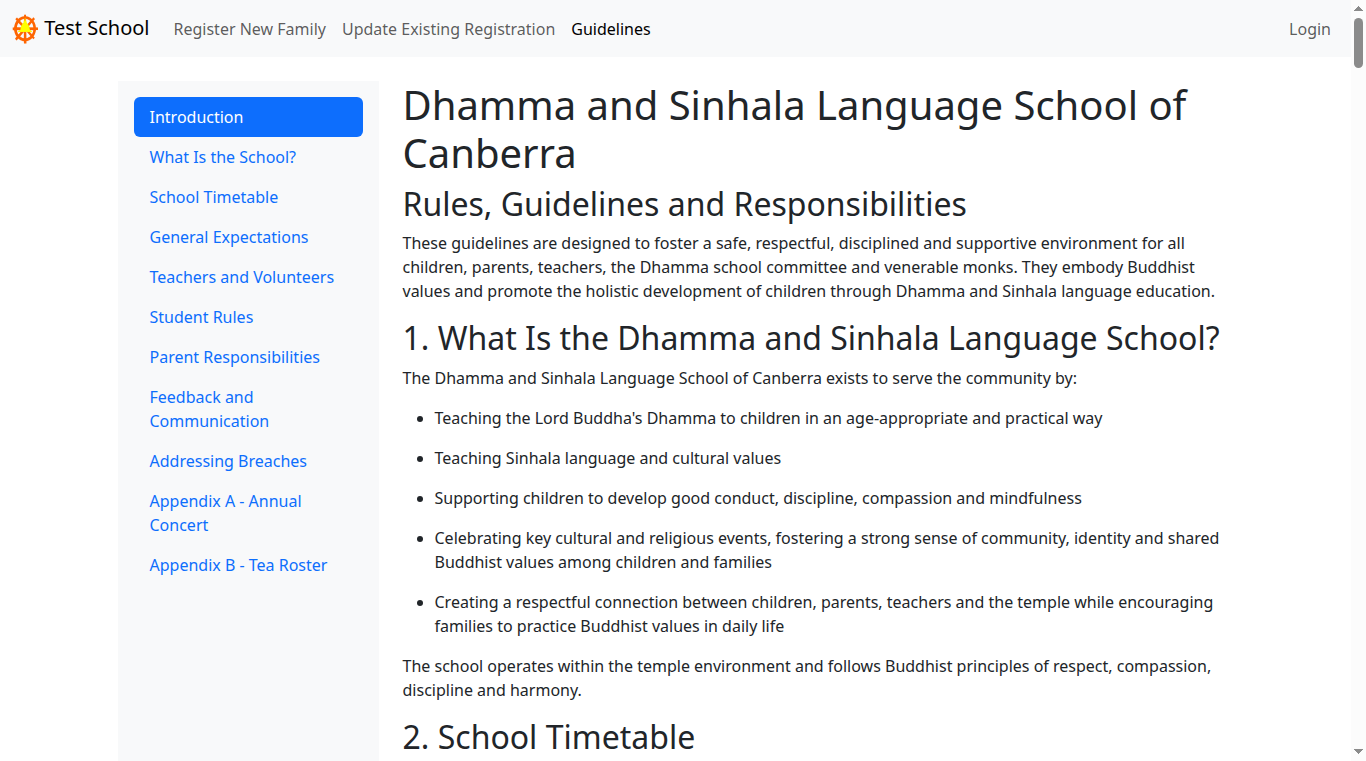
Before registering, please read the Guidelines. They explain the timetable, what's expected of students and parents, and how classes are grouped. You'll be asked to tick a box confirming you've read them.
2. Register a new family
Click Register New Family on the home page. The form takes about five minutes and ends with an online card payment.
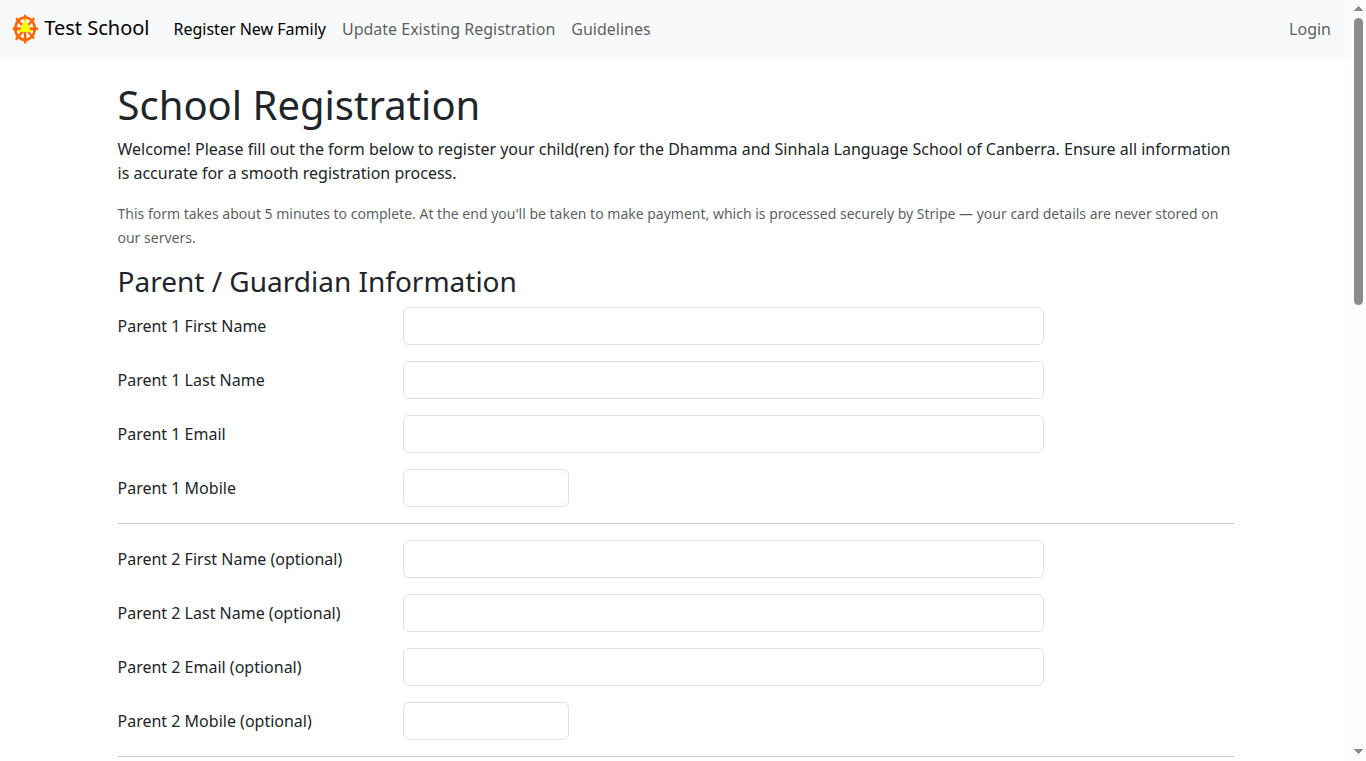
Step 1 — Your details
- Parent 1 — first name, last name, email, and mobile are all required. This is the email we use for your confirmation and any future update links, so make sure it's correct.
- Parent 2 is optional. If you add a Parent 2 email, they'll get the emails too.
- Emergency Contact — a name, phone number, and their relationship to your family.
Step 2 — Add your children
Scroll down to the Children section. For each child you enter their name, gender, date of birth, residency status, day-school name, and current school grade.
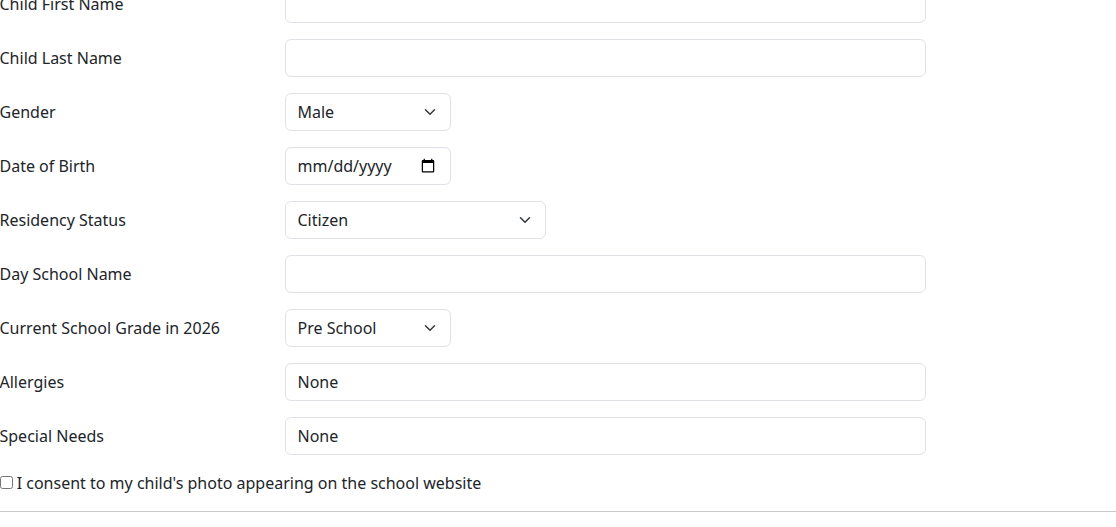
- Allergies and Special Needs start as None. If your child has an allergy or special need we should know about, replace "None" with the details. Otherwise leave it as None.
- Tick the photography consent box if you're happy for your child's photo to appear on the school website.
To enrol more than one child, click + Add Another Child at the bottom — a new blank child section appears. - Remove Last Child removes the most recently added one.
Step 3 — Accept and pay
Tick I accept the school guidelines and click Register. You're taken to a secure Stripe page to pay by card — the school never sees or stores your card details. When the payment succeeds you're brought back to a Registration Complete page.
3. "It looks like you're already registered"
If you start a new registration with an email we already have on file, we won't create a duplicate. Instead we send you a secure link to update your existing registration and show a message explaining this. Just check your email and follow the link — see Update your details below.
4. Get your update link
To renew for a new year or change anything, you need a secure update link. You don't have a password — we email you a link each time.
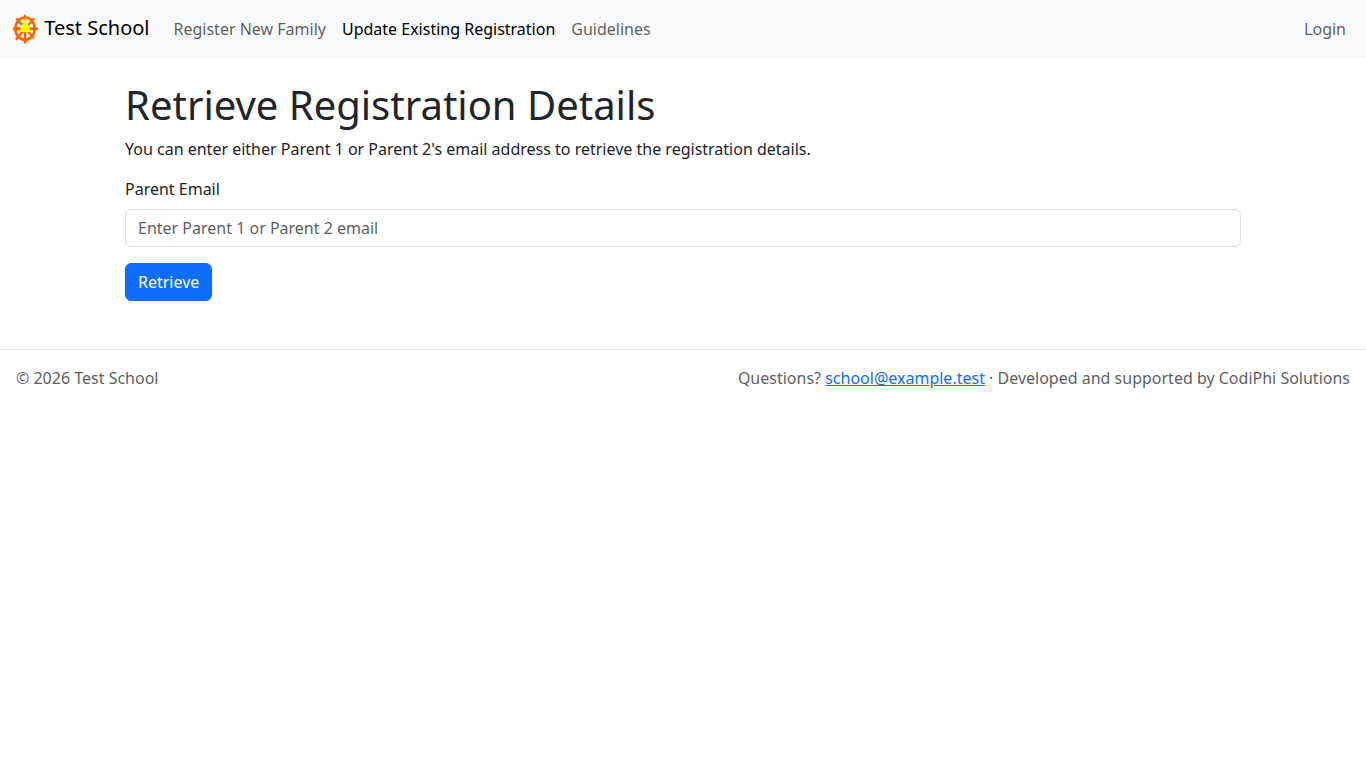
- On the home page, click Update Existing Registration.
- Enter the email you registered with (Parent 1 or Parent 2 works).
- Click Retrieve. We email you a secure link.
5. Update your details
Open the link from the email. You'll see the same form as registration, but already filled in with your details.
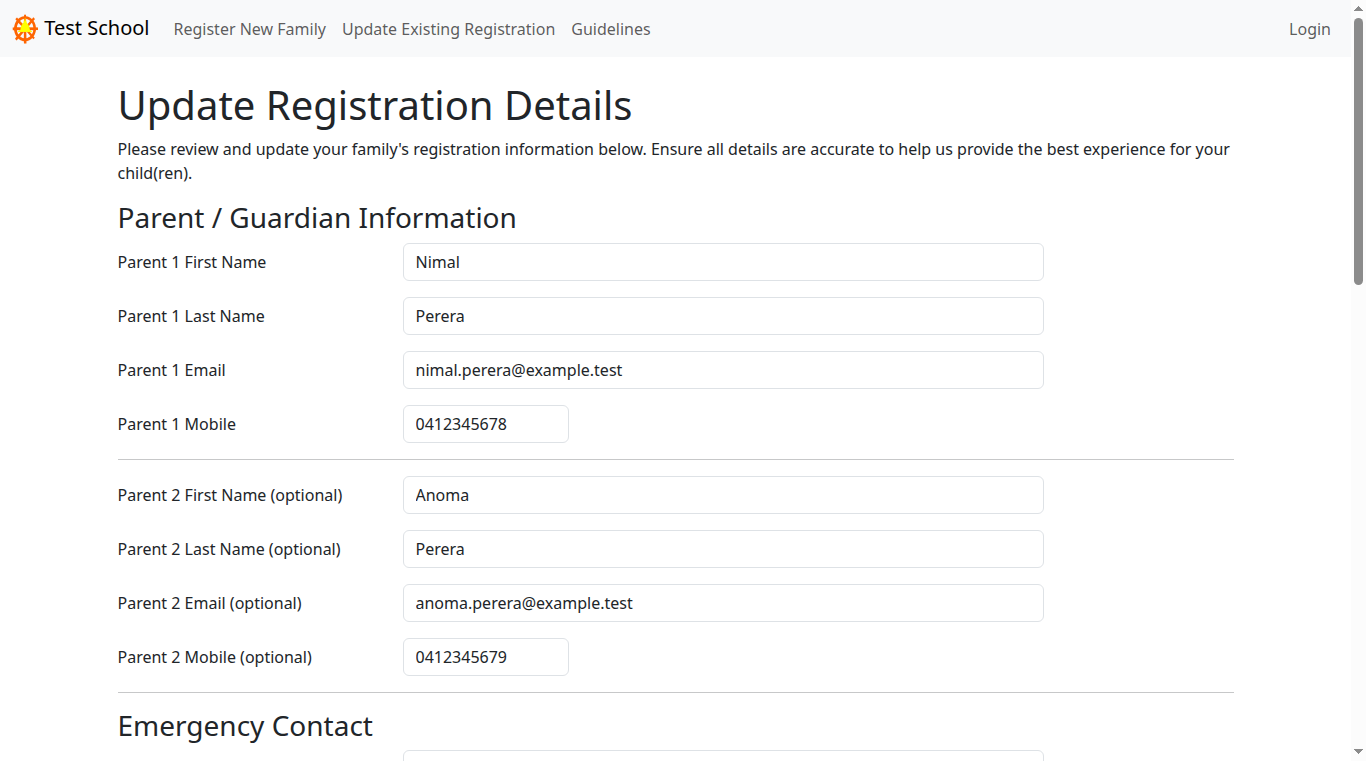
One thing you can't change: each child shows the class the school has placed them in. This is shown for your information only — there's no box to edit it.

When you're done, click Update Registration. If you'd already paid, your changes save straight away; if your registration hadn't been paid yet, you'll be taken to the payment page to finish.
6. What it costs
The fee for the year is shown on the home page — a single price for one child and a slightly higher price for two or more children. Payment is by card through Stripe at the end of registration.
Still stuck? Contact the school using the email address in the footer of every page (and in your confirmation email). Include your name and your child's name so we can find your registration quickly.